WEB BUTTONS HOW TO'S
 How To's
 How To Create Flyout Menu
- Vertical Navigation Menu For Blogger
- Collapsible Menu Html Css
- Html Tabbed Menu
- Html Goodies Drop Down Menu
- Html State Drop Menu
- Css Expanable Side Menu
- Collapsible Floating Menu
- Horizontal Submenu Using Image And Javascript
- Scrolling Javascript Menu
- Create Menu Bar Using Javascript
- Drop Down Menu With Images
- Html Code Menu Drop Down
- Drop Down Menu In Html
- Flyout Menu Frontpage
- Drop Down Menu Samples
 Features
 Online Help
  FAQ
FAQ


QUICK HELP
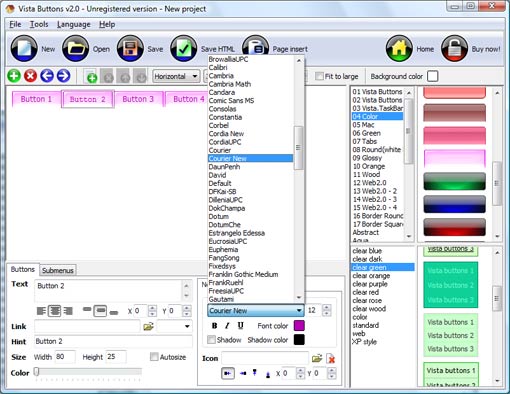
HTML DROP DOWN SUBMENU

You'll see that there are 5 buttons now in the work area.


After doing so the menu orientation will change to vertical.

Learn more about menu types from the cascade graphics user guide.
DESCRIPTION
With Vista Web Buttons clear and comprehensible interface, you need just 4 simple steps to get your web buttons or html menu ready and if you use a pre-designed sample as a base you'll end up even faster!
Cost Effective Css Sous Menu Vertical Multiple
Easy, quick, professional Css Créer Barre De Navigation Tab Dynamique Its very easy to create professional high-quality web buttons with the help of DHTML Dropdown Menu. Once installed you�ll be making buttons for your web site with no programming or drawing required. Css Tabs Hover Html Drop Down Submenu Fully Customizable
RELATED
MENU SAMPLES
Tabs Style 1 - Buttons gifsCommon Style 1 - CSS Button
Dropdown Css Multi Tabs Style 6 - Buttons Design
XP Style Olive - Image Button
Common Style 2 - Navigation Buttons
XP Style Metallic - Web Design Graphics
Vista Style 7 - Homepage Buttons
Css Horizontal Rollover Menu
Vista Style 2 - Web Button