WEB BUTTONS HOW TO'S
 How To's
 Tab Menu In Html
- Submenu Drop Down Javascript Cascading
- Create A Simple Javascript Menu
- Semi Transparent Drop Down Menu
- Collapsible Menu Icons
- Making A Menu In Bash
- Vertical Expandable Collapsible Menu
- Vertical Submenu
- Click Fold Out Menu
- Jquery Menu Vmenu
- Creating Submenu In Javascript
- Chromestyle Css For Submenu
- Creating Menus With Bash
- Horizontal Drop Down Navigation Menu Code
- Javascript Button Submenu
- Collapsible Javascript Menus
 Features
 Online Help
  FAQ
FAQ


QUICK HELP
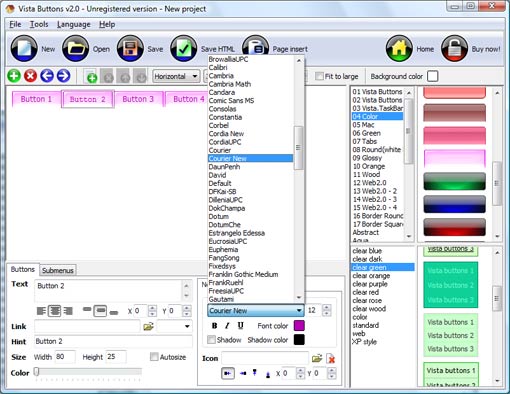
Save your menu.
MOUSEOVER DROP DOWN MENU HTML CODES

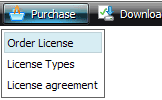
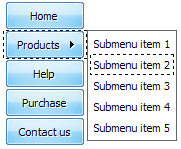
You'll see that the "Products" button has 5 subitems now.
DESCRIPTION
Fully Customizable Click Drop Menu
Professional Look-n-feel Collapsing Dhtml
Drop Boxes Rollover Html Mouseover Drop Down Menu Html Codes Instant preview
RELATED
MENU SAMPLES
Vista Style 1 - Buttons for WebVista Style 3 - Html Buttons
Creating Tab Menu For Website Vista Style 4 - 3d Buttons
Vista Style 2 - Web Button
Common Style 2 - Navigation Buttons
Vista Style 5 - Animated Buttons
Vista Style 6 - Buttons Graphics
Collapsing Menu
Tabs Style 5 - Web Page Buttons
SELECTED SAMPLE