WEB BUTTONS HOW TO'S
 How To's
 Javascript Expandable Menu
- Menus Con Bash
- Html Code Menu Bar
- Creating Menu Bar In Html
- Collapse Side Menu
- Html Coding Roll Down Menu
- Expand Collapse Menu Joomla
- Transparent Dropdown Menu Jquery
- Flyover Menu
- Create Submenu In Javascript
- Html Cascade Menus
- Submenus In Java
- Creating Hover Menus In Photoshop
- Expandable Text Menu Html
- Css Navigation Add Sub Menu
- Frontpage Collapsible Link Menu
 Features
 Online Help
  FAQ
FAQ


QUICK HELP
Save your menu.
STYLE SELECT MENU CSS
After that you can edit your code. Then set the cursor to the line you want menu code to be added to and click the "Insert" button. The menu code will be inserted into the page. Then you can either save the page or close the dialog without saving.
DESCRIPTION
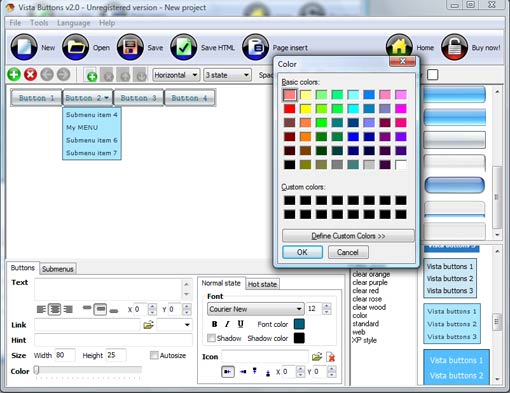
With Vista Web Buttons clear and comprehensible interface, you need just 4 simple steps to get your web buttons or html menu ready and if you use a pre-designed sample as a base you'll end up even faster!
Fully Customizable Dhtml Collapsible Menu Transitions
Compatibility ![]()
![]()
![]()
![]()
![]()
![]()
![]()
Css Horizontal Two Level Menu
Css Listbox Style Select Menu Css Total control of all menu parameters
RELATED
MENU SAMPLES
Common Style 2 - Navigation ButtonsCommon Style 3 - Web Page Button
Ejemplo Menu Desplegable En Javascript Y Html Vista Style 2 - Web Button
Vista Style 8 - Menu Buttons
Common Style 4 - Html Button
Vista Style 5 - Animated Buttons
Vista Style 9 - Toolbar Buttons
Database Driven Tree Menu Active
Vista Style 10 - Button Graphics
SELECTED SAMPLE