WEB BUTTONS HOW TO'S
 How To's
 Html Tabbed Menu
- Html Drop Menu
- Javascript Mouseover Collapsible Menu
- Html Navigation Menu
- Collapsible Html Menu
- Html Horizontal Scroll Menu
- Steve Allen Dropdown Menu Tutor
- Javascript Menu Bar Tutorial
- Css Flyout Menu Tutorial
- Javascript Using Effective Drop Down Menu
- Css Vertical Fly Menu
- Create Drop Down Menu From Database
- Collapsible Horizontal Menu
- Wordpress Foldout Menu
- C Create Menu
- Flyout Menu Sample
 Features
 Online Help
  FAQ
FAQ


QUICK HELP
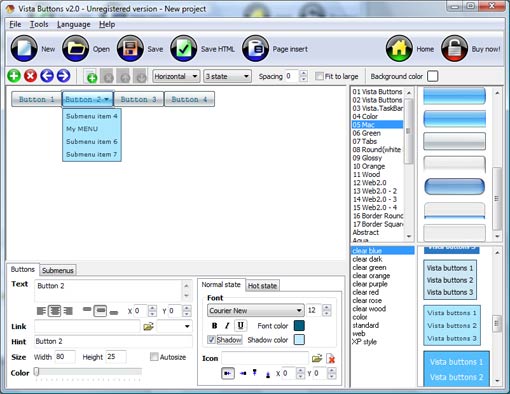
Save your menu.
COLDFUSION COLLAPSIBLE MENU

Then select next item in the submenu with click. Enter its text and so on. After finishing, the menu will look like this: 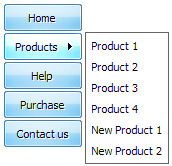

When you find a submenu background you like, double-click it to apply. For example, after choosing one of the "blue" theme's backgrounds, we'll get following results:
DESCRIPTION
Compatibility ![]()
![]()
![]()
![]()
![]()
![]()
![]()
Dd Apariencia Xp
Instant preview Cool Dhtml Dropdown Menu Cross Frame
Code Scroll Vertical Coldfusion Collapsible Menu Seamless Integration
RELATED
MENU SAMPLES
XP Style Blue - Button ImageVista Style 6 - Buttons Graphics
Css Horizontal Navigation Download Tabs Style 7 - Button Menu
Tabs Style 8 - Web Site Graphics
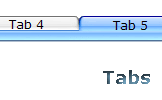
Tabs Style 6 - Buttons Design
Vista Style 4 - 3d Buttons
Tabs Style 3 - Buttons Images
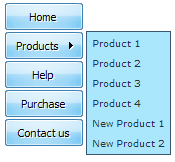
Menu And Submenus Using Javascript
Common Style 3 - Web Page Button
SELECTED SAMPLE