WEB BUTTONS HOW TO'S
 How To's
 Select Menu Style Css
- Drop Down Menu Html Css
- Simple Collapsible Menu
- How To Create Menus In C
- Create Bash Script Menu
- Html Codes Menus
- Html Creating Drop Down Menu
- Dhtml Vertical Menubar Tutorial
- Html Coding Dropdown Menu
- Flyout Menu Code In Html
- Javascript Html Menu
- Dhtml Expandable Menus
- Rocketdock Fly Out Menu
- Html Menu Current Javascript
- Drop Down Menue
- Collapsible Menu Flash Tutorial
 Features
 Online Help
  FAQ
FAQ


QUICK HELP
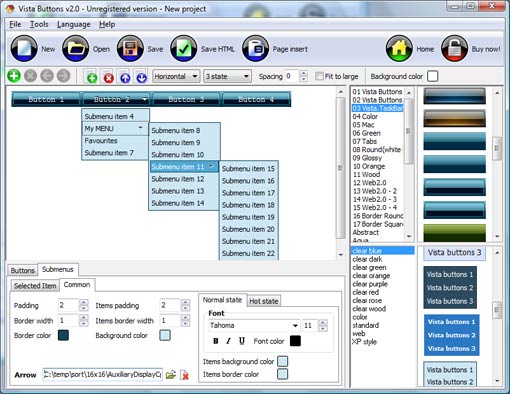
JAVASCRIPT CODING TO CREATE SUB MENUS
Then select next web button with click. Enter its text and so on. After finishing, the menu will look like this: 

"Open" dialog will appear, where you can choose an icon. Other way to assign an icon is to type its full path and name in the "Icon" field ("c:\myicons\stylish_3\pretty.ico", for example). Repeat this for each menu button. You should get something like this in result: 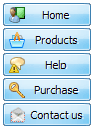

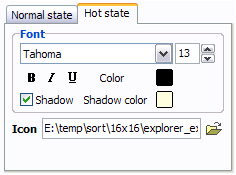
You will see that icons are aligned in the selected way now. In this example we choose Top icon align. 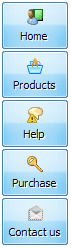
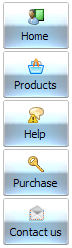
Now, when you point mouse at the menu button, shadow will appear under the button text like in the "Products" button of the following example: 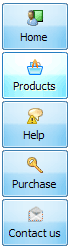
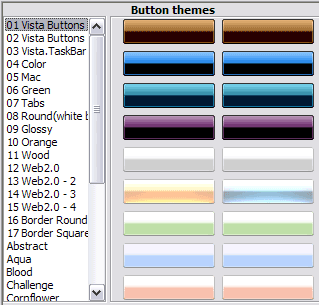
When you find a button background you like, double-click it to apply. For example, after choosing one of the "01 Vista Buttons" theme's backgrounds, we'll get following results:
DESCRIPTION
Good navigation system is an important part of web site success. If people can't find their way around the site, they will rapidly give up looking and go, never to return. So, it's very significant that your website has a neat, fast, and
Don't permit your web site visitors to get lost. Try Drop Down HTML Menu!
Professional Look-n-feel Altura Table Con Javascript
Easy to Use Dhtm Form
Css Drop Down Menu Maker Javascript Coding To Create Sub Menus Not a string of code!
RELATED
MENU SAMPLES
Vista Style 10 - Button GraphicsVista Style 1 - Buttons for Web
Dhtml Tree View Menu Tabs Style 2 - Web Buttons
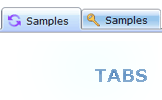
Tabs Style 8 - Web Site Graphics
Tabs Style 1 - Buttons gifs
Tabs Style 5 - Web Page Buttons
Vista Style 2 - Web Button
Vista Buttons Problem With Submenu
XP Style Olive - Image Button
SELECTED SAMPLE